Again, a man had to do, what a man has to do…
My good friend Udo gave me some Transputers in QFP package, most of them previously used and unsoldered from some PCB. Nobody knows, if they are still OK or already braindead – so I needed a QFP Adapter.
As fate goes, some fine day I stumbled across a nice 100pin QFP burn-in socket from Yamaichi on ePay. Yamaichi is “the other company” producing burn-in sockets besides 3M with their Textool brand range.
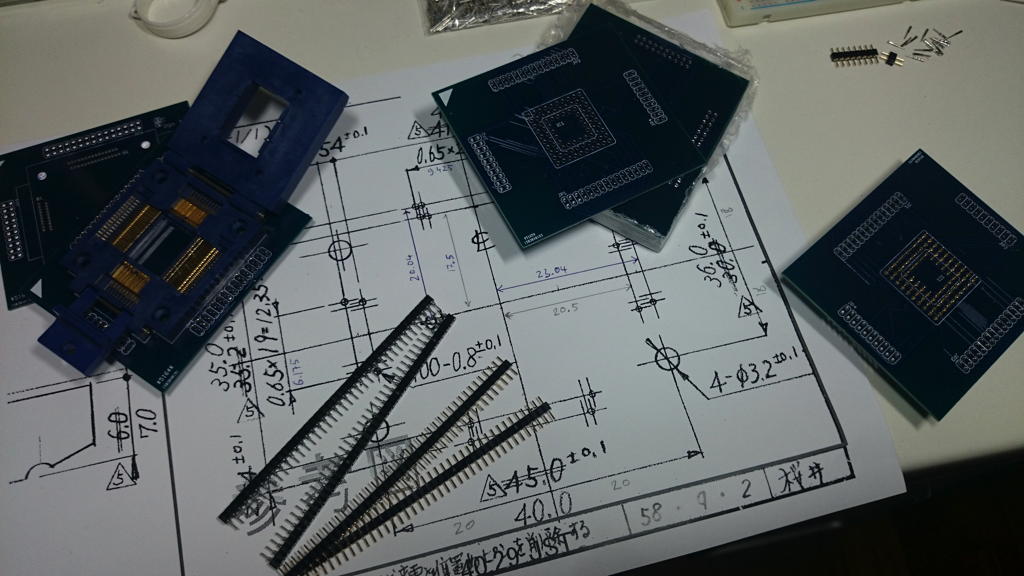
Normally those sockets are insanely expensive (100US$++) but this was a lucky buy – well for the “price” that it was an EOL model… for many years. This means no documentation available. But the very kind sales team of Yamaichi Germany (Vielen Dank Frau Howe!) was able to dig out a hand drawn blueprint of this very socket, model #IC51-1004-139.
This valuable Information at hand I was able to create my own Eagle CAD device for this Socket – not an easy task as most measures were not directly given but had to be calculated using other documented distances. After some hours I ended up with two PCBs, one for the burn-in socket which again will be mounted onto a PGA-Pin adapter PCB.
When done it was time for another “first”: Try the DirtCheapPCBs service. 2 Layers, 10x10cm PCB, 10 pieces for just US$25 (incl. shipping) – almost cheaper than doing it yourself.
After two and a half weeks I had two stacks of 10 PCBs each. Anxiously I tried if the socket with its tiiiiiiny pins will fit…. and… it… did! Hooray!! I didn’t expected that but everything fit perfectly, even the silkscreen. Soldering the 0.025″ pitch was another story…
But see for your self. Upper left corner you see the burn-in socket already soldered. At the right edge, the lower PCB it waiting to get 84 Pins soldered for the PGA socket… and another 100 to connect to the upper PCB.
Feel free to contact me, if it happen to be that you also found an IC51-1004-139 socket and need the Eagle lib or even the PCB for it… I have 9 of them left 😉

